I was halfway through a midnight snack run, juggling a half‑filled bag of frozen pizza and a soggy, forgotten bowl of chicken nuggets when the kitchen exploded into chaos. A hot sauce bottle slipped, splattering over the stove, and I stared at the greasy mess, thinking, “This is why I’m never cooking at night.” That night, I swore to create a fried chicken that would outshine every greasy takeout, a dish that would turn the ordinary into an unforgettable culinary triumph. I’m talking about a chicken that’s crisp on the outside, tender on the inside, and coated in a flavor explosion that lingers long after the last bite. If you’re ready for a kitchen adventure that turns your stove into a stage, let’s dive in.
Picture this: the kitchen is a symphony of sizzling sounds, the air thick with the aroma of paprika and garlic, and the sound of a timer ticking down the final minutes of frying. You can feel the heat radiating from the pan, see the golden crust forming, hear the faint hiss of oil as it warms, taste the salty, spicy kick of the coating, and feel the satisfaction of a job well done. The moment you take that first bite, the crunch shatters like thin ice, revealing a juicy, flavorful interior that sings with the subtle heat of cayenne. That is the promise of this recipe—an experience that engages all five senses and leaves you craving more. I dare you to taste this and not go back for seconds.
What makes this version stand out? It’s not just the combination of flavors, but the meticulous attention to technique that ensures every bite is a masterpiece. I’ve refined the marination, the coating, and the frying process to create a dish that’s hands down the best version you’ll ever make at home. The secret lies in a simple buttermilk bath that tenderizes the meat, a spice blend that delivers depth without overpowering, and a precise oil temperature that locks in moisture while creating a perfectly crisp exterior. Most recipes get this completely wrong—here’s what actually works. And if you’re wondering why this recipe feels like a revelation, it’s because I’ve taken the guesswork out of fried chicken and replaced it with proven, foolproof steps. Stay with me here—this is worth it.
Before we get into the nitty‑gritty, let me give you a sneak peek at the trick that will elevate your fried chicken from good to legendary. I’ll reveal a small, often overlooked ingredient that brings a subtle, smoky undertone to the coating—something that will make your neighbors ask for your secrets. Picture yourself pulling this out of the oven, the whole kitchen smelling incredible, and watching the golden pieces melt into a symphony of crunch and flavor. That moment will be yours, and I’m here to guide you through every single step—by the end, you’ll wonder how you ever made it any other way.
What Makes This Version Stand Out
- Flavor: The blend of paprika, garlic, onion, and cayenne creates a balanced heat that’s both smoky and peppery, leaving a lingering warmth that pairs perfectly with the tender meat.
- Texture: A double‑coat—first a dry flour mix, then a quick dip in buttermilk—ensures a crackling crust that remains crisp even after rest.
- Marination: The buttermilk bath not only tenderizes but also infuses the chicken with subtle tang, preventing dryness during high‑heat frying.
- Heat Control: Maintaining an oil temperature of 350°F keeps the exterior crisp while the interior stays juicy, a technique that eliminates greasy, soggy results.
- Make‑ahead: Marinate overnight and dry the coating the next day; the chicken can be fried within an hour, making it an ideal crowd‑pleaser.
- Ingredient Quality: Using fresh spices and high‑quality chicken pieces guarantees depth of flavor and a satisfying bite.
- Visual Appeal: The golden crust, speckled with paprika, looks as good as it tastes, making it a showstopper for any gathering.
- Versatility: Add a splash of hot sauce or a dash of smoked paprika to tweak the heat level, allowing you to tailor the dish to your palate.
Alright, let's break down exactly what goes into this masterpiece. And before we jump into the ingredients, here's a quick kitchen hack that will save you time.
Inside the Ingredient List
The Flavor Base
The buttermilk is the heart of this dish; it’s the liquid that softens the protein fibers, ensuring a juicy interior. By adding a tablespoon of hot sauce, you introduce a subtle heat that permeates the meat before the coating even touches it. Skipping the buttermilk would leave the chicken dry, but even a single cup of milk can help if you’re in a pinch. For a dairy‑free twist, substitute coconut milk or a non‑dairy buttermilk alternative.
The Texture Crew
All‑purpose flour is the canvas that holds the spices together, creating a uniform coating. The paprika and cayenne pepper bring color and a layered heat profile, while garlic and onion powders add depth without overpowering. A pinch of salt and black pepper balances the flavors, allowing each spice to shine. If you prefer a crunchier crust, lightly toast the flour mix in a skillet before dredging.
The Unexpected Star
Hot sauce is the unexpected star that sets this recipe apart; it’s not just a heat source but also a flavor enhancer that gives the coating a subtle tang. The choice of sauce—whether it’s a smoky chipotle or a bright sriracha—can shift the entire flavor profile, making the dish either bold or mild. If you’re not a fan of heat, you can reduce the amount or use a milder sauce. This ingredient is what turns a plain fried chicken into a culinary statement.
The Final Flourish
Vegetable oil is the medium that transforms the coating into a crisp, golden shell. Its high smoke point allows you to fry at 350°F without burning. Using a neutral oil like canola or peanut keeps the flavor clean. If you’re aiming for a healthier version, you can opt for avocado oil, which also boasts a high smoke point. Remember, the oil is not just a cooking medium; it’s the canvas that brings the coating to life.
Everything's prepped? Good. Let’s get into the real action.
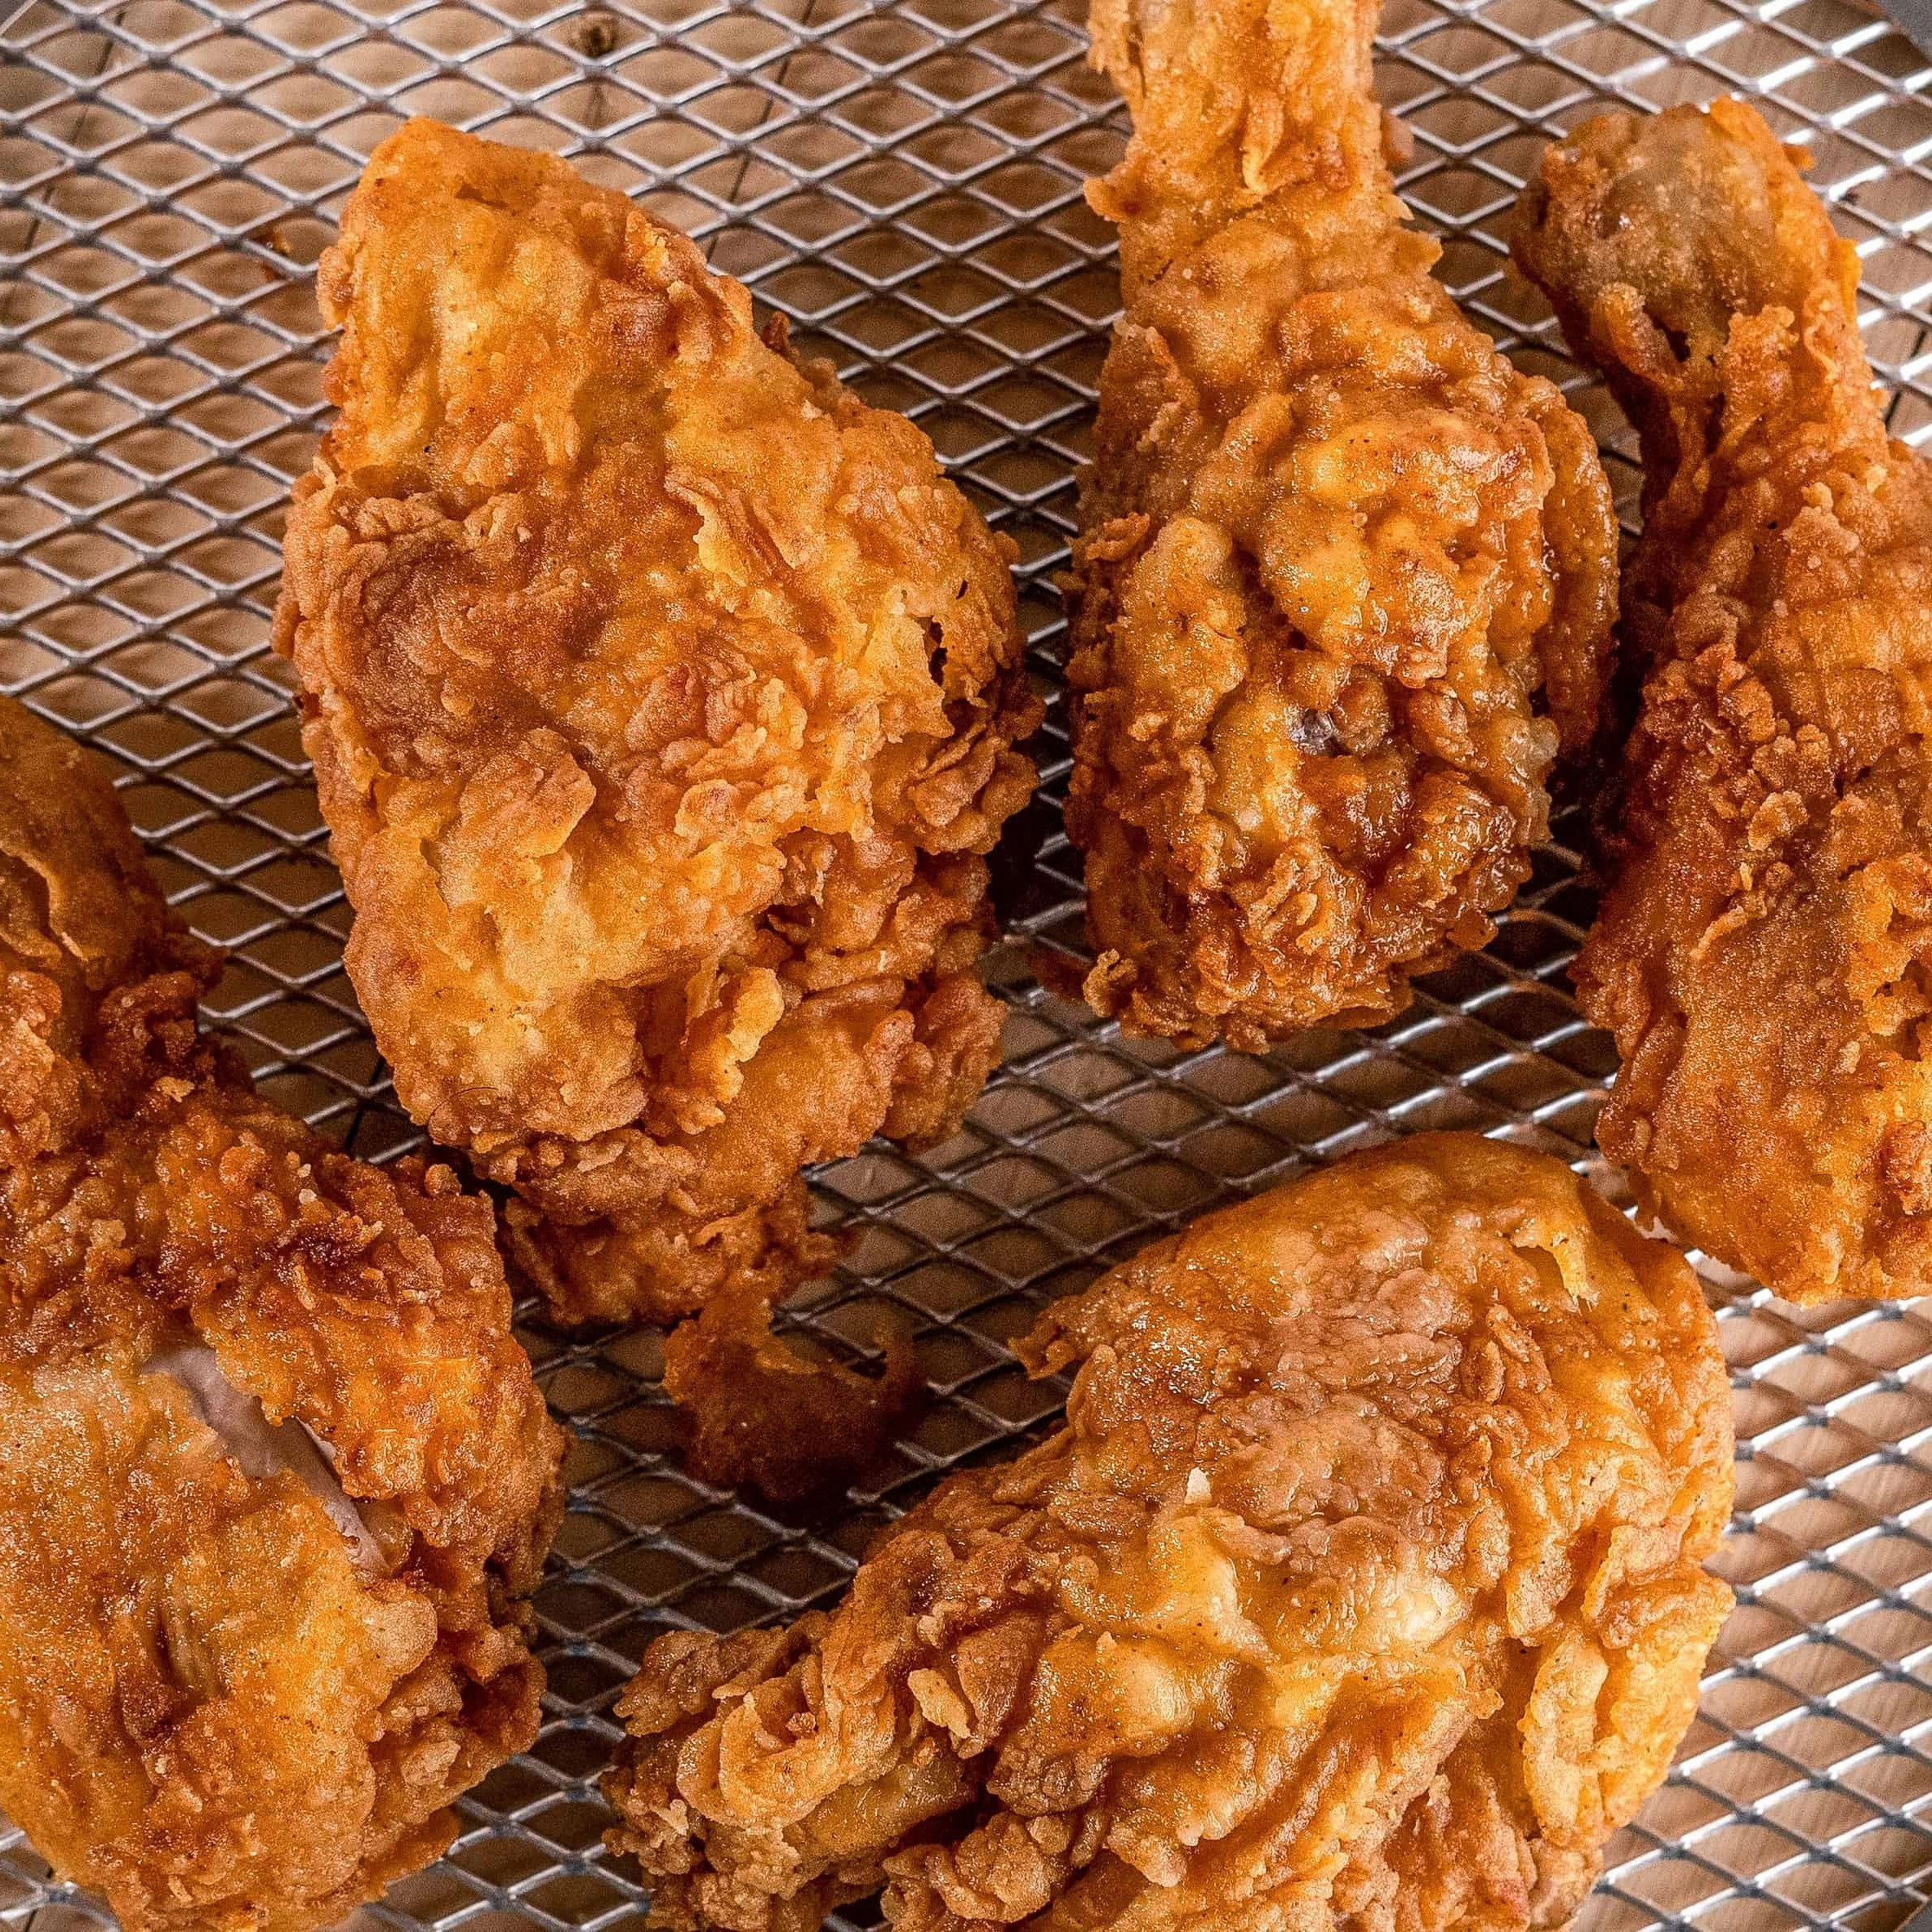
The Method — Step by Step
- Begin by whisking together 2 cups of buttermilk, 1 tablespoon of hot sauce, a generous pinch of salt, and a dash of black pepper in a shallow dish. Submerge the chicken pieces, ensuring each piece is fully coated. Cover and refrigerate for at least 2 hours, preferably overnight, to allow the flavors to seep deep into the meat. The longer the marination, the more tender and flavorful the chicken will become.
- While the chicken is marinating, prepare the flour mixture. In a large bowl, combine 2 cups of all‑purpose flour, 1 tablespoon paprika, 1 tablespoon garlic powder, 1 tablespoon onion powder, 1 teaspoon cayenne pepper, a pinch of salt, and a dash of black pepper. Mix thoroughly so that the spices are evenly distributed. This dry blend is the foundation of the crispy crust that will envelop each piece.
- Remove the chicken from the buttermilk, letting the excess drip off. Pat the pieces dry with paper towels to remove any surface moisture—this step is critical for achieving a crisp crust. Then, dredge each piece in the flour mixture, pressing gently to ensure a thick, even coating. Shake off any excess flour and set the coated chicken on a wire rack or parchment‑lined tray.
- Heat 1.5 cups of vegetable oil in a deep skillet or Dutch oven to 350°F (175°C). Use a kitchen thermometer to maintain the temperature; too hot and the coating will burn, too cool and the chicken will absorb oil. If you don’t have a thermometer, test the oil by dropping a small pinch of flour—if it sizzles immediately and rises to the surface, the oil is ready.
- Fry the chicken in batches, carefully placing each piece into the hot oil. Avoid overcrowding; this keeps the temperature steady. Cook for 6–8 minutes on each side, flipping once, until the crust turns a deep golden brown and the internal temperature reaches 165°F (74°C). The aroma will be intoxicating, and the sizzle will confirm that everything is working as it should.
- Once cooked, transfer the chicken to a wire rack set over a baking sheet. This allows excess oil to drain while preventing the bottom from becoming soggy. Let the chicken rest for 5 minutes; this step redistributes the juices, ensuring every bite is moist and flavorful.
- For an extra layer of flavor, lightly brush the hot chicken with melted butter and sprinkle a touch of paprika or cayenne while it’s still warm. This final flourish adds a subtle richness and a hint of spice that elevates the dish. If you prefer a lighter version, skip the butter and enjoy the pure flavor of the coating.
- Serve immediately with your favorite dipping sauce—honey mustard, ranch, or a creamy blue cheese dip. Pair it with coleslaw, mashed potatoes, or a crisp green salad for a balanced meal. The golden exterior and juicy interior will keep guests raving for hours.
- If you’re planning ahead, let the chicken cool completely before storing. Portion it into airtight containers and refrigerate for up to 3 days or freeze for up to 3 months. Reheat in a 350°F oven for 15 minutes or until heated through; the crust will remain crisp if you finish it off on a hot skillet.
- Enjoy the satisfaction of a dish that’s been perfected through practice and passion. Remember, the key to success lies in the details—marination time, oil temperature, and resting period. Now that you’ve mastered the basics, feel free to experiment with spices and sauces to create your own signature fried chicken.
Insider Tricks for Flawless Results
The Temperature Rule Nobody Follows
Maintaining a steady oil temperature of 350°F is non‑negotiable. If the oil is too hot, the coating burns before the meat cooks; too cool, and the chicken soaks in oil, losing its crunch. Use a deep‑dish thermometer to monitor the temperature, and adjust the heat in small increments. I’ve spent hours learning to read the oil’s visual cues—when it starts to ripple lightly, that’s the sweet spot.
Why Your Nose Knows Best
The aroma of frying chicken is a reliable indicator of doneness. When the smell turns from buttery to a warm, savory scent, the coating is crisping perfectly. Trust your nose; it’s a seasoned judge that has survived countless kitchen experiments. If the smell lingers too long, the chicken might be overcooked.
The 5‑Minute Rest That Changes Everything
After frying, let the chicken rest on a wire rack for at least five minutes. This step allows the juices to redistribute, preventing a dry center. It also gives the crust a chance to firm up slightly, making each bite more satisfying. I’ve seen people skip this step, only to end up with a soggy, disappointing result.
Double‑Dipping for Extra Crunch
For a thicker, crunchier crust, dip the coated chicken back into the buttermilk before a second dredge in the flour mixture. This creates a double‑layered coating that seals in moisture and adds texture. The trick is to shake off excess buttermilk before the second flour coat, or the coating will become soggy.
The Right Oil Choice
Choosing an oil with a high smoke point—such as peanut, canola, or avocado—ensures that the temperature stays stable during frying. Avoid oils with strong flavors that might overpower the seasoning, like olive oil. I’ve tried avocado oil for a healthier version, and it delivered a surprisingly clean, buttery taste.
Creative Twists and Variations
This recipe is a playground. Here are some of my favorite ways to switch things up:
Smoky BBQ Glaze
Brush the fried chicken with a smoky BBQ sauce before serving. The sweet, smoky glaze adds a new dimension, making it perfect for summer cookouts.
Crispy Parmesan Crust
Swap the flour and spice mix for a blend of grated Parmesan, breadcrumbs, and Italian seasoning. The result is a savory crust that pairs wonderfully with marinara.
Coconut‑Infused Crunch
Add shredded coconut to the flour mixture for a tropical twist. The coconut adds a subtle sweetness and a unique crunch that’s perfect for beachside parties.
Spicy Korean Fusion
Incorporate gochujang into the buttermilk and sprinkle gochugaru on the coating. The spicy, umami flavors transform the dish into a Korean‑style fried chicken.
Herb‑Lemon Zest
Add lemon zest and fresh thyme to the flour mixture for a bright, herbaceous crust. The citrus notes lift the dish, making it ideal for spring gatherings.
Storing and Bringing It Back to Life
Fridge Storage
Cool the fried chicken completely before placing it in an airtight container. Store in the refrigerator for up to 3 days. The crust may soften slightly, but the flavor remains intact.
Freezer Friendly
Wrap the chicken pieces individually in parchment paper and place them in a freezer bag. Freeze for up to 3 months. This method prevents clumping and preserves crispness.
Best Reheating Method
Reheat frozen chicken in a 350°F oven for 15 minutes, or until heated through. For a crisp finish, finish in a hot skillet for 2 minutes on each side. Add a splash of water to the pan before reheating to create steam, which keeps the meat moist and the crust crunchy.