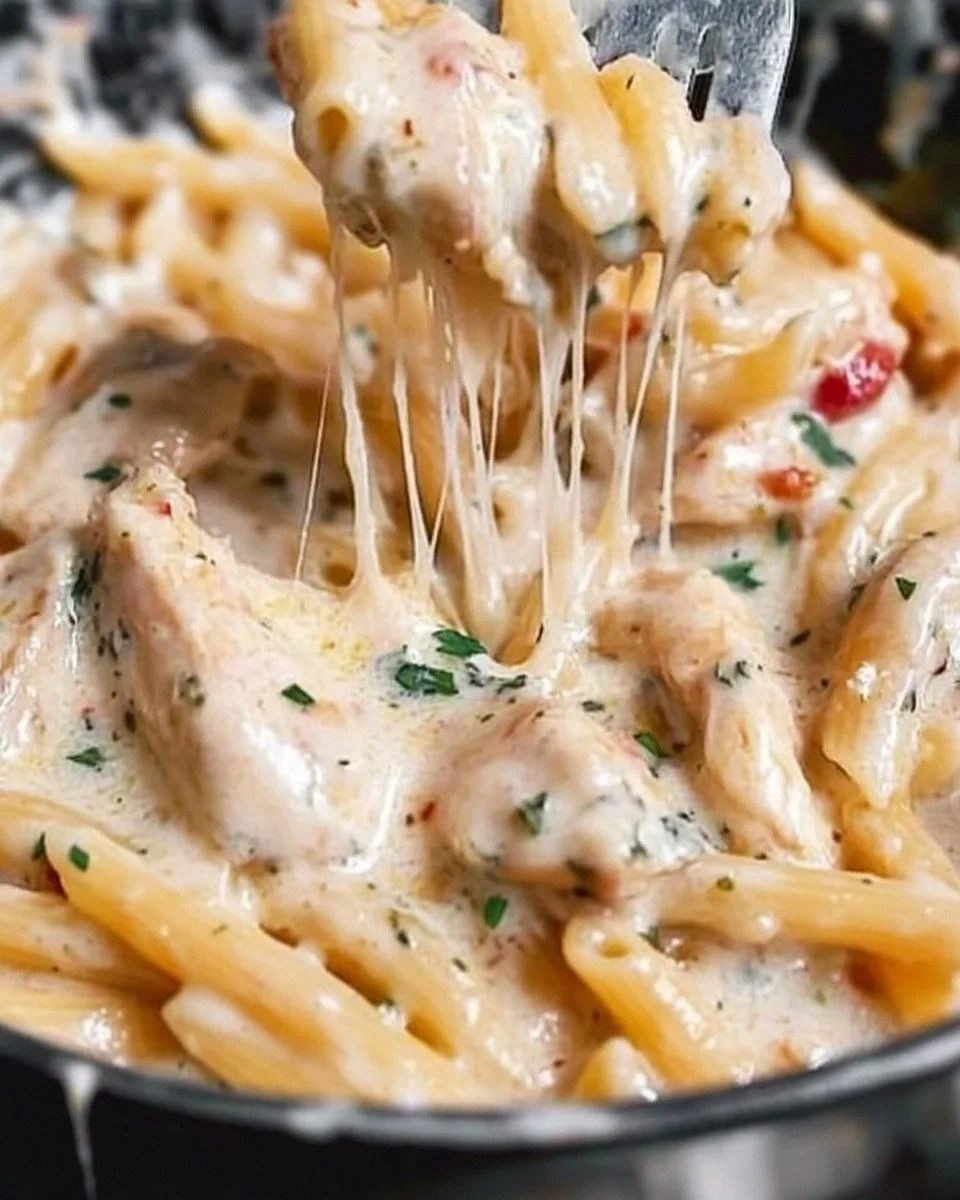
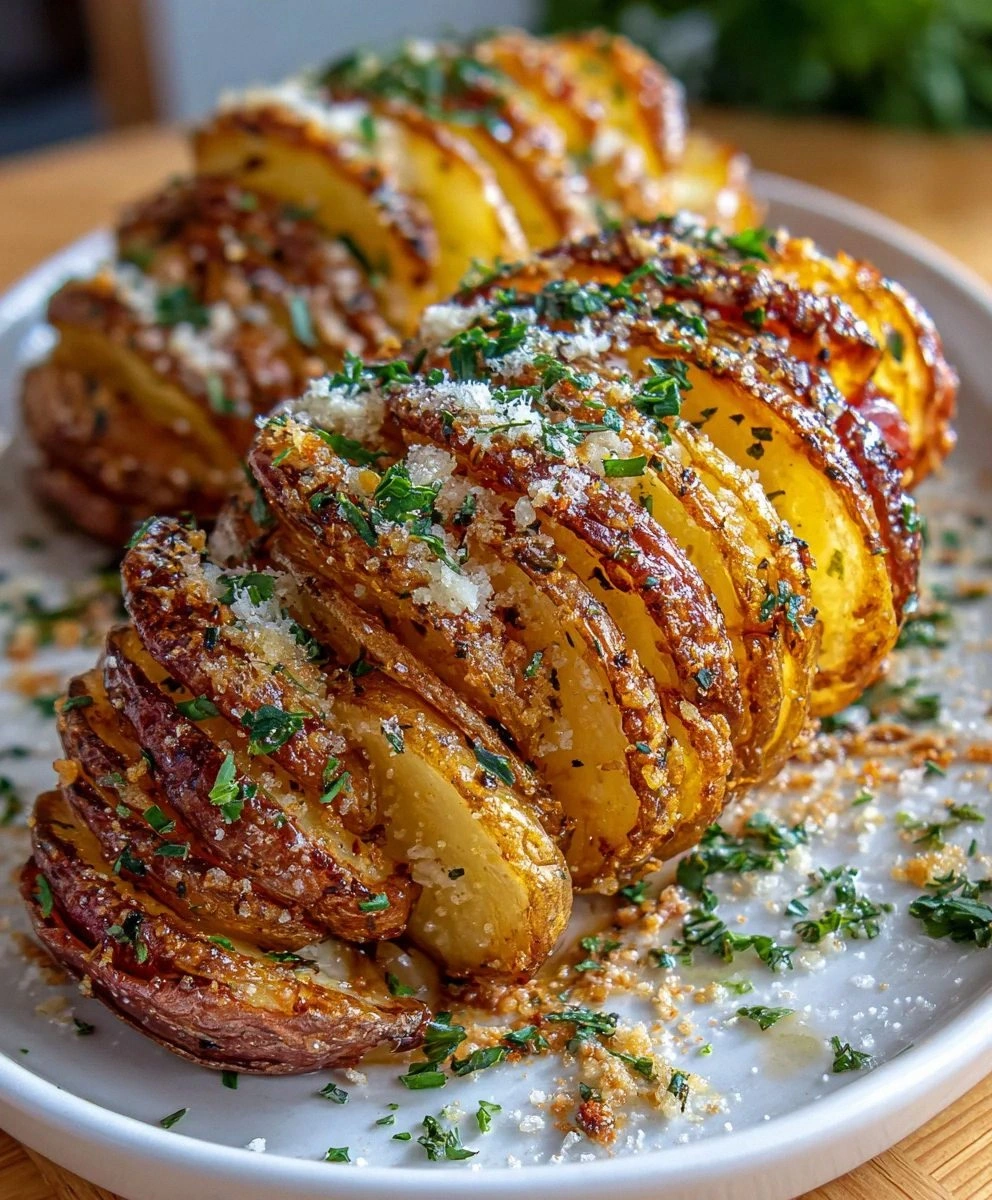
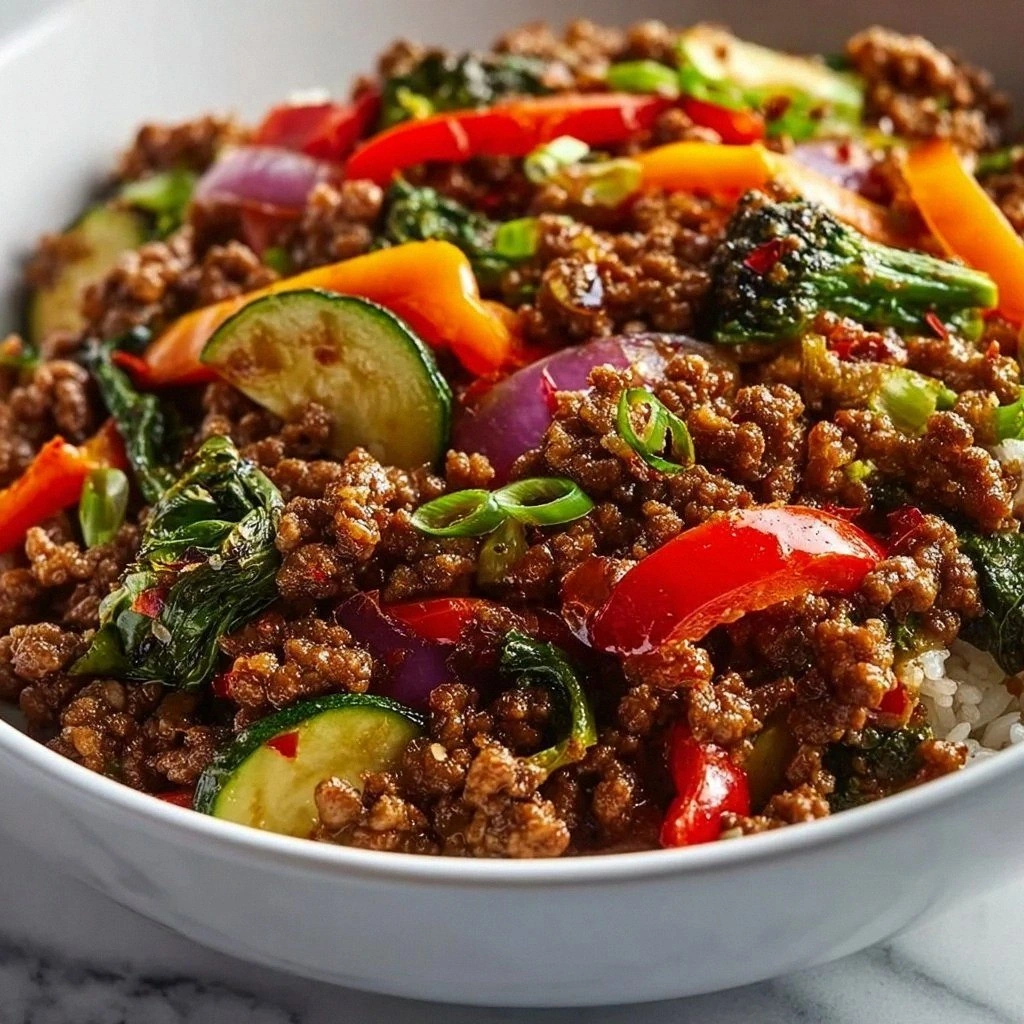
Picture this: a storm of sizzling onions, browned beef, and the unmistakable aroma of melted cheddar swirling through the air. I was halfway through a disastrous attempt at a classic chili when my kitchen exploded with the promise of something far richer. The moment I tasted that first bite, I knew I had stumbled onto a culinary revelation that would forever change my dinner routine. This isn’t just another comfort food; it’s a symphony of textures, from the tender, buttery potatoes to the crisp edges that crackle like a fresh autumn leaf. I’m about to walk you through the exact steps that make this dish the ultimate indulgence you never knew you needed.
I dare you to taste this and not go back for seconds. The first bite delivers a savory explosion, followed by a creamy cascade that coats your tongue like velvet. The cheese melts into a silky sauce that clings to each potato chunk, while the beef offers a hearty, meaty backbone. Every spoonful feels like a comforting hug wrapped in a warm blanket of flavor. If you’ve ever struggled to make a filling dinner that also feels like a treat, you’re not alone — and I’ve got the fix.
Most recipes get this completely wrong, focusing on either the meat or the potatoes but never both in perfect harmony. I discovered that the secret lies in the balance of fat and starch, and a touch of acidity that brightens the dish. The next step? Let’s talk about the ingredients that bring this masterpiece to life. Picture yourself pulling this out of the oven, the whole kitchen smelling incredible, and your friends asking for the recipe. Trust me, this is hands down the best version you’ll ever make at home.
Picture the potatoes, cut into bite‑sized cubes, soaking in a buttery broth that lifts their flavor to new heights. The beef is browned to a deep caramelized hue, releasing a savory scent that lingers even after the heat has been turned off. The cheddar is shredded and folded in just as the dish starts to simmer, creating a glossy, melt‑in‑your‑mouth coating. A splash of milk and a pinch of paprika give it that subtle warmth and depth. And the final touch? A sprinkle of fresh herbs that brightens the dish like a burst of sunshine on a gray day.
The technique I’ll share involves a quick sear of the onions and garlic before adding the beef, a method that locks in flavor and prevents a soggy base. Then we’ll introduce the potatoes at the right moment to ensure they stay firm yet tender. The cheese isn’t just added for richness; it’s used to bind the dish together, creating a velvety texture that’s both comforting and indulgent. The broth, made from beef stock and a dash of Worcestershire, adds depth without overpowering the main flavors. The result? A hearty, cheesy pot that feels like a hug from the inside out.
If you’re thinking this sounds like a slow cooker affair, think again. I’ll show you how to do it on a stovetop in half the time, preserving the crispness of the edges while still achieving that melt‑in‑your‑mouth center. I’ll also reveal a trick to keep the cheese from separating, which most people overlook. By the end, you’ll wonder how you ever made it any other way. Let me walk you through every single step — by the end, you’ll wonder how you ever made it any other way.
Before we dive into the recipe, let me give you a quick rundown of the core ingredients that make this dish sing. We’ll break them into four distinct groups: the flavor base, the texture crew, the unexpected star, and the final flourish. Each group plays a pivotal role, and I’ll explain what happens if you skip any of them. I’ll also throw in a few swap suggestions for those with dietary restrictions or pantry shortages. With these insights, you’ll be equipped to customize the dish while still preserving its soul.
I’ll start with the flavor base: onions, garlic, and beef stock. These three components form the aromatic foundation that carries the rest of the dish. If you omit the stock, the potatoes will absorb too much moisture, resulting in a soggy texture. You can swap the beef stock for a vegetable stock if you’re looking to lighten the flavor, but you’ll lose some depth. The key is to let the onions caramelize slowly so they release a sweet, nutty undertone.
Next comes the texture crew: potatoes, ground beef, and a splash of milk. The potatoes provide the heartiness, while the beef adds protein and richness. Milk is essential for the cheese to melt smoothly; without it, the cheddar can become rubbery. If you’re avoiding dairy, try a plant‑based milk that has a neutral flavor, such as oat or soy. The ratio of potato to beef should be roughly 2:1 to keep the dish balanced.
The unexpected star is the cheddar cheese, but it’s more than just a topping. The cheddar’s sharpness cuts through the richness of the beef and the creaminess of the potatoes. A sharp cheddar also adds a slight tang that brightens the overall flavor profile. If you’re a fan of smoked cheese, a smoked cheddar will give the dish a subtle smokey depth. Just remember to shred it finely so it melts evenly.
Finally, the final flourish includes paprika, salt, pepper, and fresh herbs. These finishing touches elevate the dish from good to unforgettable. Paprika adds a gentle warmth and a pop of color, while salt balances all the flavors. Pepper gives a subtle heat that complements the cheese’s sharpness. Fresh herbs, such as parsley or chives, add brightness and a fresh finish. Skipping any of these will leave the dish feeling flat.
Fun Fact: Did you know that the word “cheddar” comes from the village of Cheddar in Somerset, England, where the cheese was first produced? It’s been a staple of English cuisine since the 12th century, and its sharp flavor has made it a favorite for dishes worldwide. The long aging process gives cheddar its distinct texture and depth, which is why it’s the perfect choice for this hearty pot. Next, let’s get into the real action.
Now that we’ve dissected every ingredient, it’s time to bring them together in a dance of flavors. The method is straightforward yet precise, and I’ll walk you through each step in detail. From the initial sear to the final flourish, every moment is crucial for achieving that perfect cheesy texture. I’ll also share a few kitchen hacks to streamline the process and avoid common pitfalls. Get ready for a step‑by‑step guide that will leave you craving more.
The Method — Step by Step
- Heat a large, heavy‑bottomed pot over medium heat and add a splash of olive oil. The oil should shimmer but not smoke; this ensures a clean sear. Add the diced onions and cook until they’re translucent and beginning to caramelize, about 5 minutes. Stir occasionally so they don’t stick or burn. The goal is to develop a sweet, nutty base that will carry the rest of the flavors.
- Introduce minced garlic to the pot, cooking for 30 seconds until fragrant. Be careful not to let it brown too quickly, as burnt garlic tastes bitter. The garlic will infuse the onions with a deep, aromatic undertone. This step sets the stage for the beef, which will absorb these flavors. Let the aroma fill your kitchen; it’s the first hint of the dish’s richness.
- Pour in the ground beef, breaking it up with a wooden spoon. Cook until it’s browned and no longer pink, about 8 minutes. Stir frequently to ensure even browning and to prevent sticking. The beef should develop a deep caramelized crust that locks in juices. Once browned, drain excess fat if desired to keep the dish from becoming greasy.
- Pour in the beef stock, enough to just cover the bottom of the pot. Bring the mixture to a gentle simmer. The stock will help the potatoes cook evenly and create a flavorful broth. Keep the heat low to avoid boiling, which can make the potatoes mushy. Let the mixture simmer for about 5 minutes, allowing the flavors to meld.
- Add the diced potatoes to the pot, ensuring they’re submerged in the broth. Stir to coat them with the savory mixture. Cover the pot with a lid and reduce the heat to low. Let the potatoes simmer until they’re just tender, about 10 minutes. Check occasionally to ensure they don’t stick to the bottom.
- Reduce the heat to low and sprinkle shredded cheddar over the top of the mixture. Then pour in a splash of milk to help the cheese melt into a silky sauce. Stir gently until the cheese is fully melted and the mixture has a smooth, velvety consistency. The milk should be added slowly to avoid curdling. This step creates the signature creamy texture that defines the dish.
- Season the pot with salt, pepper, and paprika, adjusting to taste. The paprika adds a subtle warmth and a hint of smokiness. Taste the broth; if it feels flat, a pinch more salt will lift the flavors. Remember that the cheese will also bring some saltiness, so balance accordingly. This final seasoning step ensures every bite is balanced and harmonious.
- Stir in fresh herbs such as chopped parsley or chives, which add a bright finish. The herbs should be added at the very end to preserve their flavor and color. This gives the dish a fresh, vibrant contrast to the rich cheese and beef. The herbs also provide a slight peppery note that complements the paprika. The aroma of fresh herbs will make the dish feel even more inviting.
- Turn off the heat and let the pot rest for 5 minutes with the lid on. This allows the flavors to settle and the residual heat to finish cooking the potatoes. During this time, the cheese will thicken slightly, creating a luscious coating. Resting also helps the liquid to thicken into a comforting sauce. After resting, give the pot a gentle stir to distribute the flavors evenly.
- Serve the cheesy hamburger pot immediately, spooning generous portions into bowls. Garnish with additional herbs or a sprinkle of extra cheddar if desired. The dish pairs wonderfully with crusty bread or a simple green salad. The combination of creamy, cheesy, and savory elements makes it a crowd‑pleaser. Enjoy the first bite, and let the flavors unfold.
- If you’re feeling adventurous, top each serving with a dollop of sour cream or a drizzle of hot sauce for an extra kick. The tanginess of sour cream balances the richness, while the heat of hot sauce adds a lively contrast. Both options are optional, allowing you to tailor the dish to your taste. Adding these garnishes can elevate a simple meal into a restaurant‑style experience. Experiment and find what you love.
- If you have leftovers, store them in an airtight container in the fridge for up to 3 days. Reheat gently over low heat, adding a splash of milk to restore creaminess. Stir frequently to prevent the cheese from separating. Leftovers are just as delicious as the first batch, if not more so, because the flavors have had time to deepen. Enjoy a second round of comfort without the extra prep time.
Insider Tricks for Flawless Results
The Temperature Rule Nobody Follows
The secret to a velvety sauce is never letting the heat jump too high after adding the cheese. I’ve seen even seasoned chefs over‑cook this step and end up with a rubbery texture. Keep the flame low and stir slowly; the cheese will melt evenly. If you notice the mixture starting to steam, reduce the heat further. This small adjustment can make the difference between a mediocre and a masterpiece.
Why Your Nose Knows Best
Your nose is your best quality control. If the broth smells off or the cheese has a sour note, stop cooking immediately. Fresh ingredients will emit a bright, clean aroma that signals everything’s on track. The smell of caramelized onions and fresh herbs is a sure sign that the dish is heading in the right direction. Trust your senses; they’re more reliable than a timer.
The 5-Minute Rest That Changes Everything
After turning off the heat, let the pot sit with the lid on for exactly five minutes. This resting period allows the residual heat to finish cooking the potatoes and lets the cheese settle into a smooth coating. Skipping this step often results in uneven texture. I’ve seen dishes that were too hot straight from the stove come out with a lumpy, uneven sauce. Give it the rest it deserves.
Use a Splatter Guard When Searing
Searing onions and garlic can produce a lot of splatter, which not only makes a mess but also burns your clothes. A splatter guard keeps the oil contained and protects your stove from grease stains. It’s a small tool that saves a lot of cleanup time. I’ve used one on every batch, and it’s become an essential part of my routine.
Stir with a Silicone Spatula
A silicone spatula is flexible, heat‑resistant, and gentle on cookware. It can reach the bottom of the pot without scratching the surface, ensuring every bit of flavor is incorporated. I’ve found that a silicone spatula is the best tool for this dish, especially when you’re working with a thick, cheesy sauce. Give it a try; your pot will thank you.
Add Milk in Small Doses
When incorporating milk, add it slowly and in small doses. This gradual addition helps the cheese emulsify without curdling. If the sauce starts to separate, a tiny splash of milk can bring it back together. I’ve used this trick more times than I can count, and it’s a lifesaver for anyone who’s struggled with a lumpy cheese sauce.
Creative Twists and Variations
This recipe is a playground. Here are some of my favorite ways to switch things up:
Spicy Chipotle Kick
Swap the paprika for chipotle powder and add a splash of adobo sauce. The smoky heat pairs beautifully with the cheddar, giving the dish a bold, adventurous flavor. This version is perfect for those who love a little fire in their comfort food. Serve it with a side of cool avocado slices to balance the heat.
Mediterranean Twist
Replace the ground beef with ground lamb and add sun‑dried tomatoes and olives. Finish with a drizzle of olive oil and a sprinkle of feta cheese. The lamb’s rich flavor and the briny olives create a Mediterranean vibe that’s both familiar and fresh. It’s an unexpected yet delightful departure from the classic version.
Vegetarian Version
Use a plant‑based ground beef substitute and swap the beef stock for vegetable stock. Add a handful of chopped spinach for color and nutrition. The dish remains hearty, with a satisfying meaty texture that’s entirely plant‑based. It’s a great option for meat‑free nights without sacrificing flavor.
Low‑Carb Adaptation
Replace the potatoes with cauliflower florets, simmered until tender. Keep the cheddar and broth the same for a creamy, low‑carb option. This version cuts carbs dramatically while maintaining the dish’s comforting essence. It’s perfect for keto or low‑carb enthusiasts looking for a filling meal.
Breakfast Bash
Add a few scrambled eggs to the pot just before serving. The eggs soak up the cheesy broth, turning the dish into a hearty breakfast or brunch option. Pair it with a side of toast or a fresh fruit salad for a complete morning meal. This twist adds protein and a different texture that’s surprisingly delicious.
Cheese Swap
Swap cheddar for Gruyère or Fontina for a more nutty, melt‑in‑your‑mouth experience. Each cheese brings its own unique flavor profile, altering the dish’s character. Try Gruyère for a slightly sweet, caramelized taste, or Fontina for a buttery, mild finish. Experimenting with cheese is a fun way to keep the recipe fresh.
Storing and Bringing It Back to Life
Fridge Storage
Store leftovers in an airtight container in the refrigerator for up to 3 days. The creamy sauce will thicken slightly, but it remains flavorful. When ready to eat, reheat gently on the stove, adding a splash of milk to restore creaminess. Stir frequently to keep the cheese from separating. The dish tastes just as good, if not better, after a day in the fridge.
Freezer Friendly
Freeze portions in freezer‑safe containers for up to 2 months. When reheating, thaw overnight in the refrigerator, then warm on the stove with a splash of milk. The texture may change slightly, but the flavor stays intact. Freezing is a great way to have a ready‑to‑heat meal on busy nights.
Best Reheating Method
Reheat on low heat, stirring constantly to maintain a smooth sauce. Add a tiny splash of water or milk to keep the mixture from drying out. Heat slowly to avoid scorching the bottom and to preserve the cheese’s creamy texture. When the dish is heated through, serve immediately for the best experience.